Introduction
Previously it was possible in Visma Nmbrs to set up only one environment owner. In principle, this was the person who applied for (or had requested) the Free Trial and signs a contract with Visma Nmbrs. In many cases, this legal owner turned out not to be the one who actually manages the application.
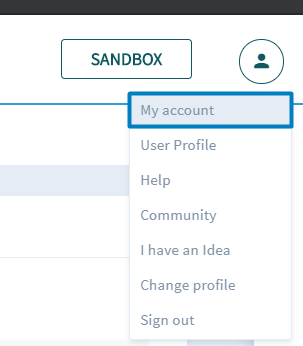
Since only the environment owner had access to 'My Account', the application manager missed certain functionalities for which he / she had to contact the legal owner.
The environment owner was also the contact point for Visma Nmbrs for all important reports, but in many cases the legal owner acted more in the background and in principle does not deal with the operational tasks in the application itself.
To change the legal owner, see the following article:
Based on this, we decided to make a split between the different contact persons.
Topics in this article:
- How it works
- Rights of the contact persons
- Add contact template
- Add or modify contact Log in as Contact login
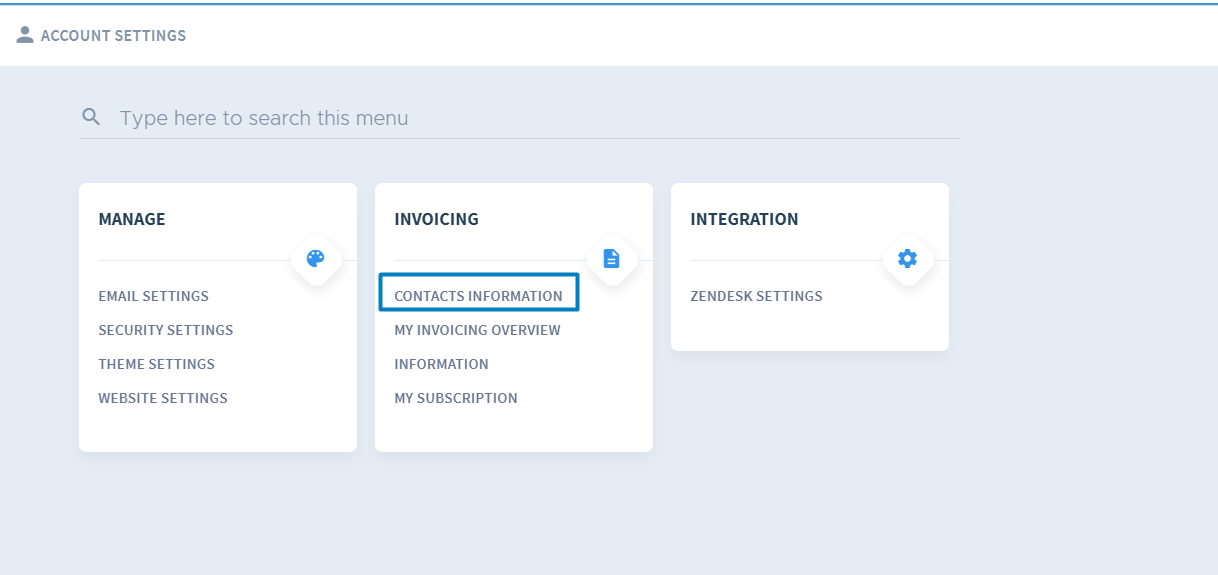
1. How it works
Within Visma Nmbrs it's possible to set up multiple 'Contact Types'. There are two possible owners which can be defined as; the application manager and the legal owner.
The current environment owner is now initially both the application manager and the legal owner. He / she can designate someone else as the application manager in "My account", as this does not have to be the same person.
In addition, a few other new contacts can be added:
• Data Protection Officer (DPO)
• Financial contact
• Support contact
• Sales contact
• Technical administrator
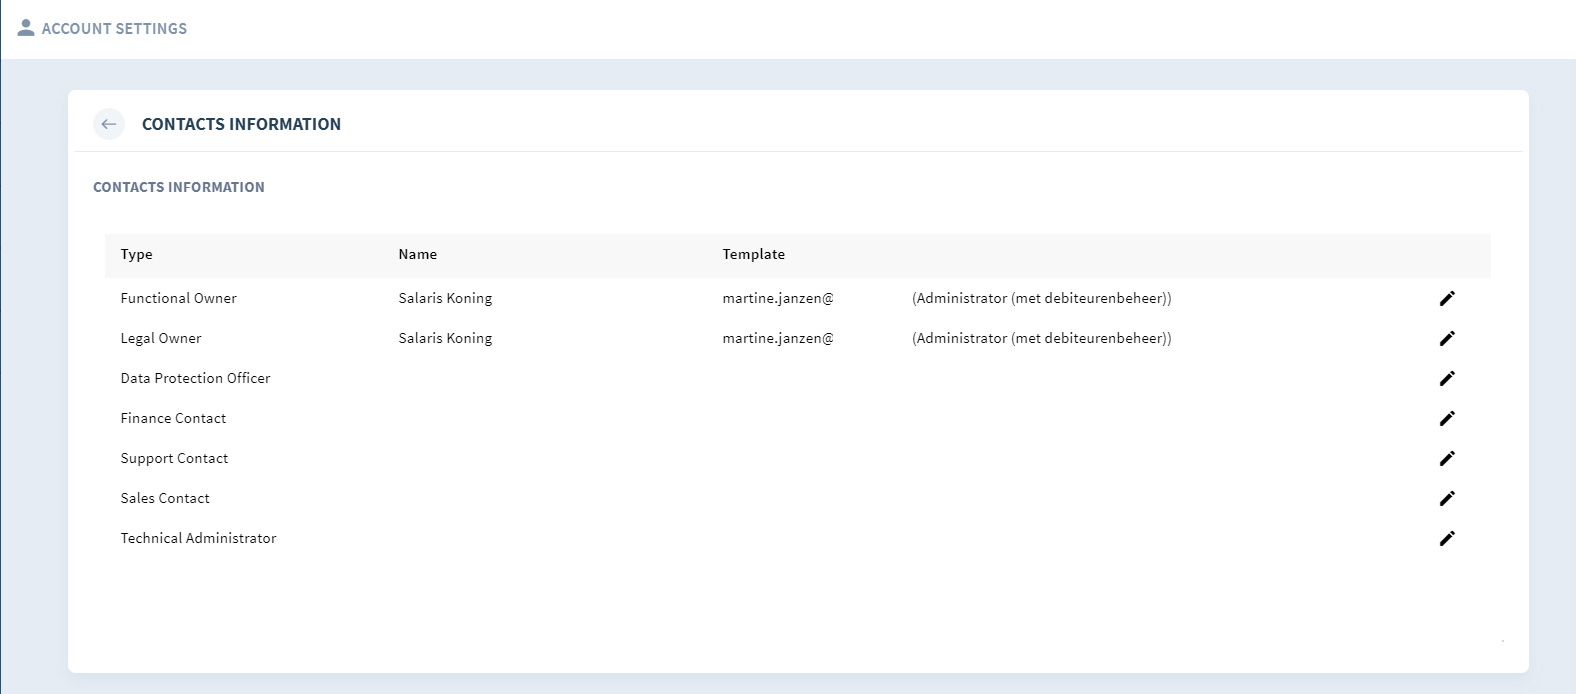
All seven contact types have access to “My Account”, whereby a person can be designated for each of the types mentioned and a login can be linked to it. Depending on the contact type, that person will have certain rights within the system.
2. Rights per contact person
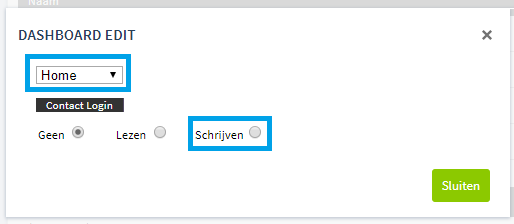
Different rights apply for each type of contact person. These are predefined and cannot be modified via the template users -> dashboard editor.
Accountant
| Functional Owner | Legal Owner | Data Protection Officer | Financial contact | Support contact | Sales contact | Technical contact | |
| E-mail settings | Write | Write | Read | No access | Read | Read | Write |
| Security settings | Write | Write | Read | No access | No access | No access | Write |
| Theme settings | Write | Write | Read | No access | Read | Read | Read |
| Website settings | Write | Write | Read | No access | Read | Read | Read |
| Contact persons | Write | Write | Read | Read | Read | Read | Read |
| My invoice overview | No access | Write | No access | Write | No access | No access | No access |
| Information | Write | Write | Read | Read | Read | Read | Read |
| My subscription | Read | Write | No access | Read | No access | No access | No access |
| Zendesk settings | Write | Write | Read | No access | Read | Read | Write |
Business
| Functional Owner | Legal Owner | Data Protection Officer | Financial contact | Support contact | Sales contact | Technical contact | |
| E-mail settings | Write | Write | Read | No access | Read | Read | Write |
| Security settings | Write | Write | Read | No access | No access | No access | Write |
| Theme settings | Write | Write | Read | No access | Read | Read | Read |
| Contact persons | Write | Write | Read | Read | Read | Read | Read |
| My invoice overview | No acces | Write | No acces | Write | No acces | No acces | No acces |
| Information | Write | Write | Read | Read | Read | Read | Read |
| My subscription | Read | Write | No access | Read | No access | No access | No access |
| Zendesk settings | Write | Write | Read | No access | Read | Read | Write |
3. Add Contact template
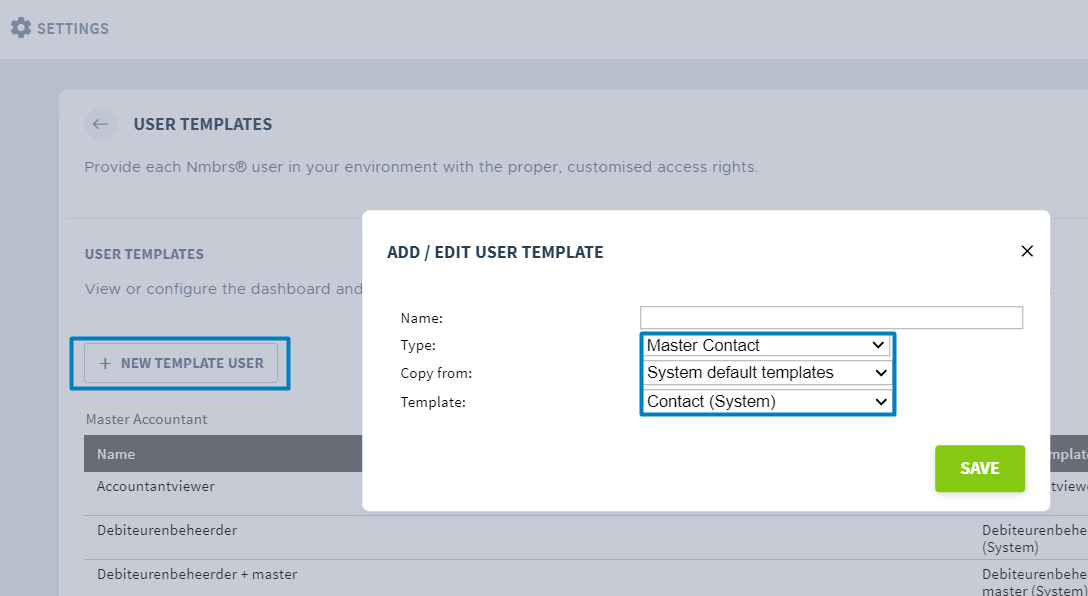

Note!
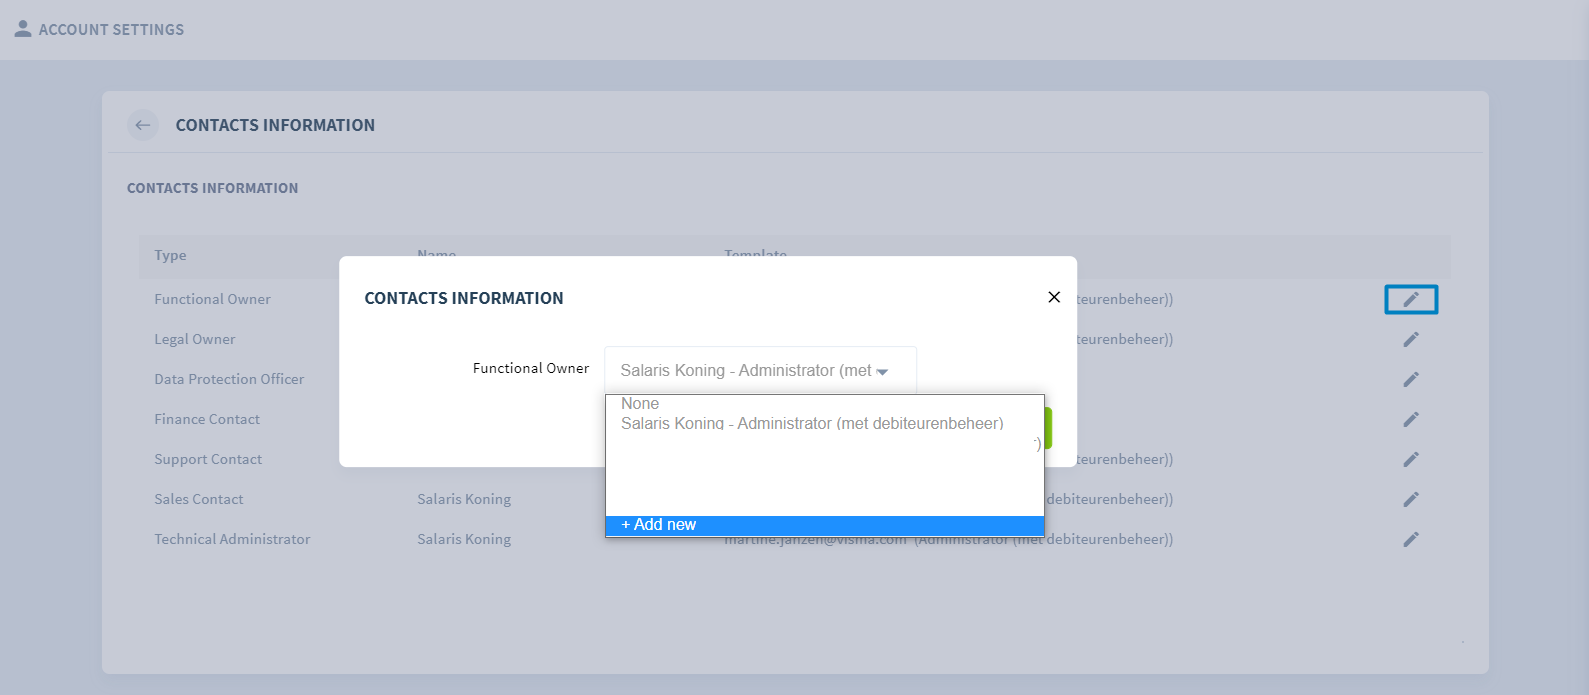
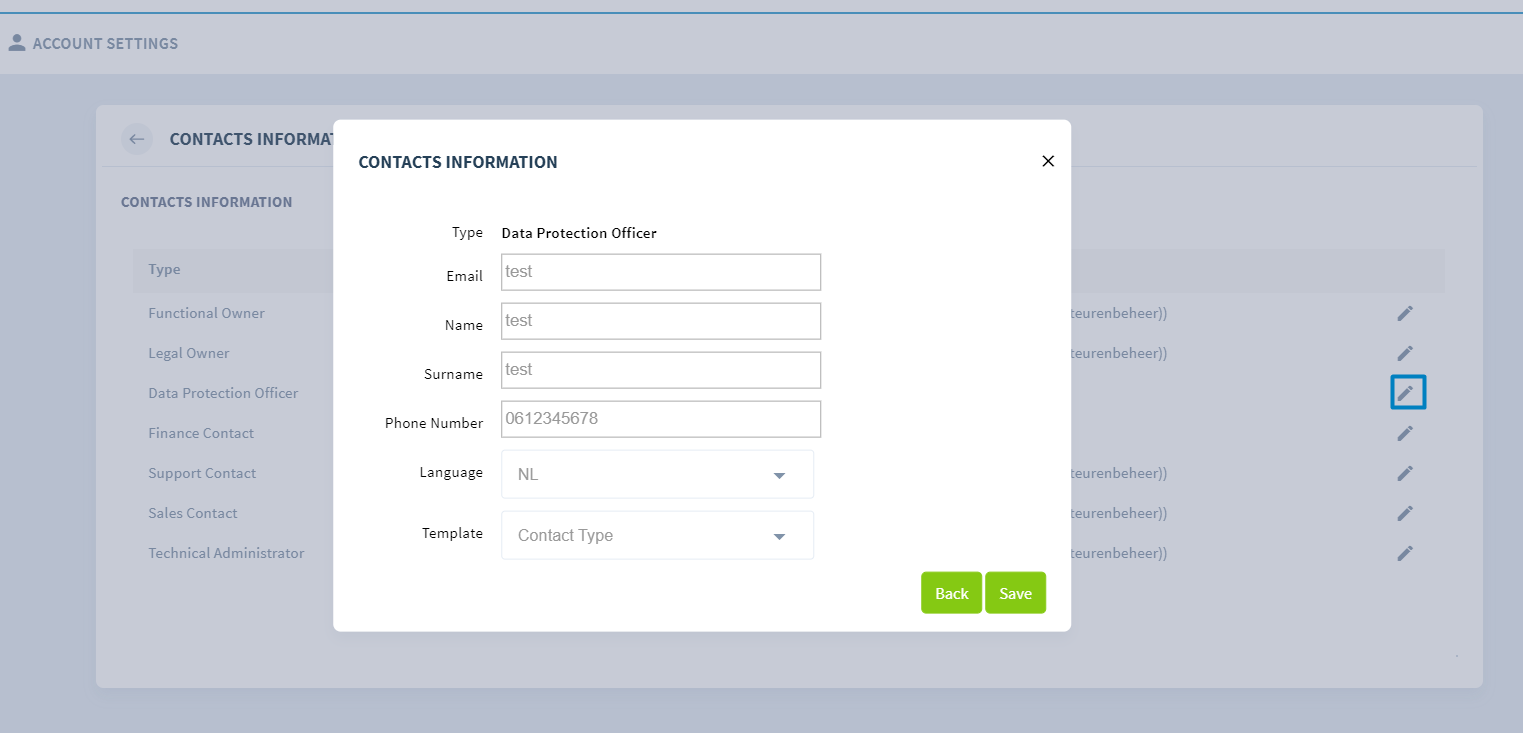
4. Add Contacts or adjust them
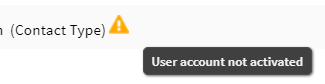
After completing everything, click on 'Save'. An activation email will be sent to this email address.
Comments