You can create an accountant login for employees of your own office. This type of user has permission to view several debtors. You can select the debtors yourself by using the debtor tags.
'Settings' tab
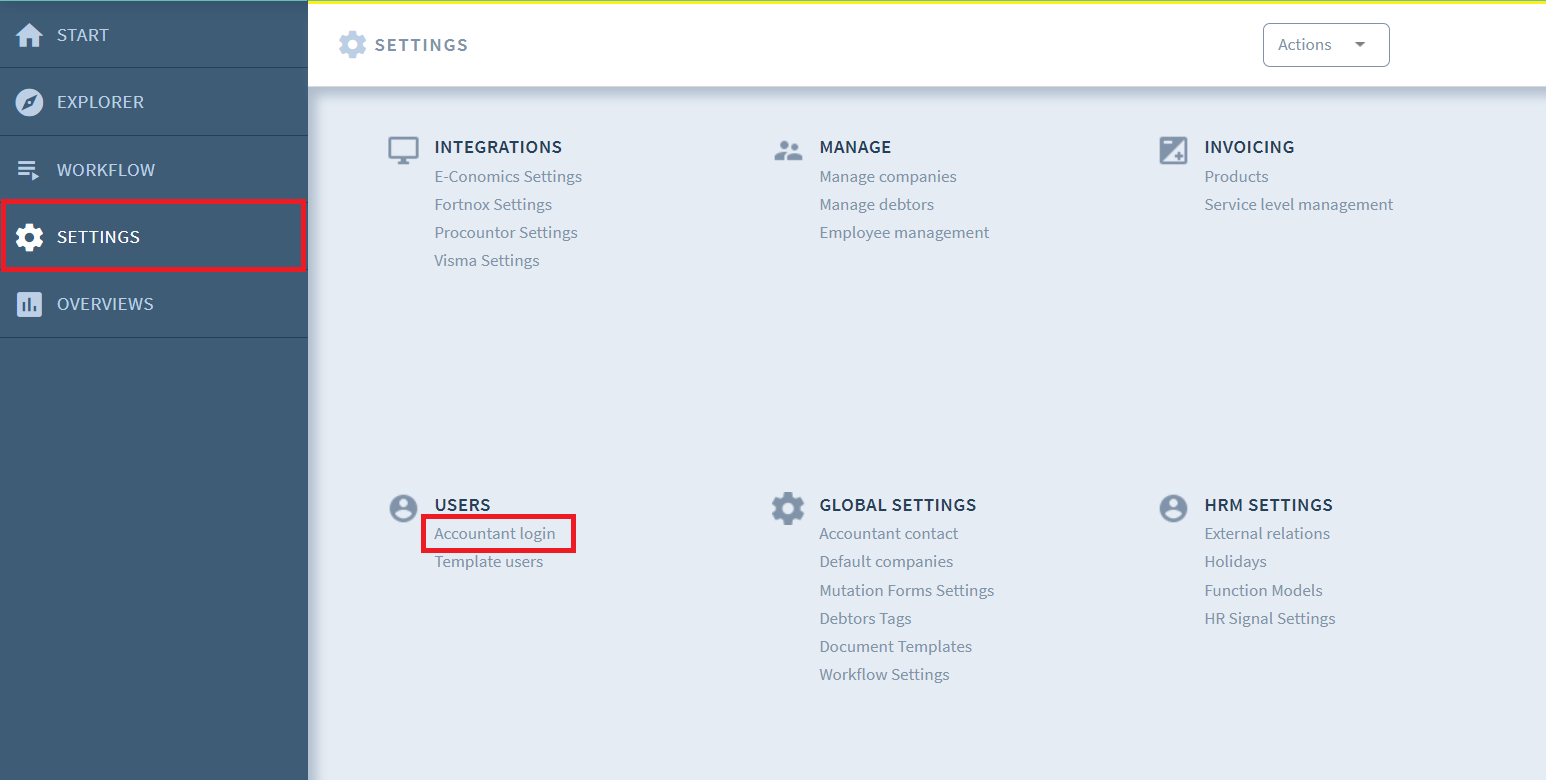
Adding an accountant login is done via the 'Settings' tab.
Adding a new account
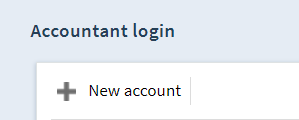
Click on 'New account' to add a new Accountant login.
User template

1. Enter the email address and the personal details of the employee.
2. Then choose one of the templates from the list. This will determine what this user can see.
If you have created your own templates for an accountant login, you will also find these on the list.
Filter
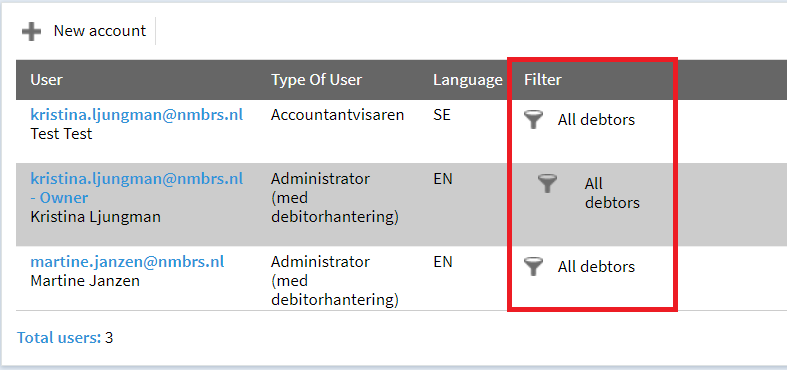
Click on the filter icon to select debtor tags for the newly created accountant login.
Or select the 'all debtors' option when everything may be viewed.
Editing the filter
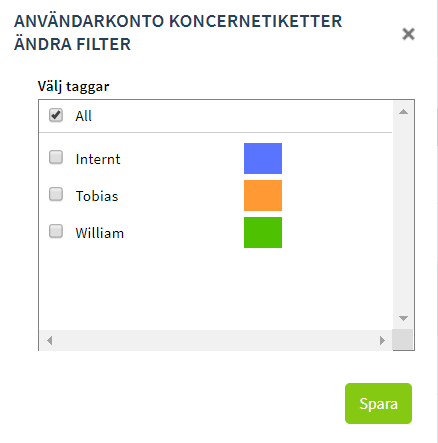
Select the tags this user is permitted to see. You can also opt to allow access to all tags.
Please note: if nothing is selected, nothing can be viewed.
Activating the user

Finally, you activate the user by sending an email; this is done by clicking on the email icon.
The user will receive a message that he can activate his account.
Comments